If you have recently cut down a tree in your yard, you may be faced with the unsightly and inconvenient problem of a tree stump. Removing tree stumps can be a challenging and labor-intensive task, but with the right knowledge and tools, you can easily grind tree stumps and restore your yard to its former glory. In this step-by-step guide, we will take you through the process of grinding tree stumps, from understanding the basics to post-grinding procedures and maintenance tips.
Understanding the Basics of Tree Stump Grinding
Before delving into the stump grinding process, it is essential to understand why grinding tree stumps is necessary. While leaving a stump untouched may seem like the easiest option, it can lead to a variety of issues over time. Tree stumps can become an eyesore in your yard, attracting pests and disease to your remaining trees. Additionally, they pose a safety hazard, especially if they are obscured by grass or other vegetation.
To successfully grind tree stumps, you will need the appropriate tools for the job. These tools include a stump grinder, safety gear such as gloves and goggles, as well as a shovel and a chainsaw. Investing in high-quality tools will ensure that the process is efficient and safe.
Once you have gathered all the necessary tools, it’s important to assess the size and hardness of the tree stump. Larger and older tree stumps will require more time and effort to grind down compared to smaller, freshly cut stumps. The type of tree also plays a role in the grinding process, as hardwood stumps tend to be denser and more challenging to remove.
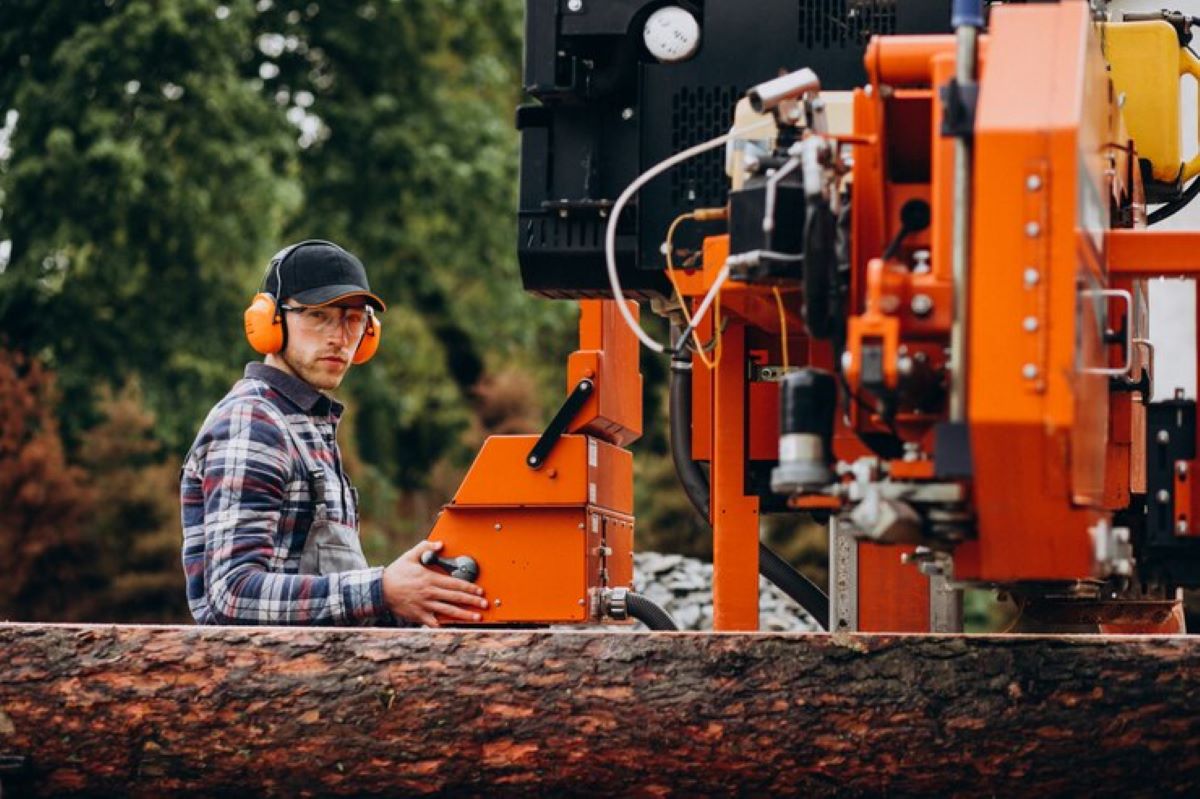
Before starting the grinding process, it’s crucial to clear the area around the stump of any rocks, debris, or loose soil that could damage the equipment. Safety should always be a top priority, so make sure there are no bystanders near the work area during the grinding process. Additionally, wearing ear protection is recommended, as stump grinders can be quite loud during operation.
Preparing for the Stump Grinding Process
Prior to starting the stump grinding process, certain safety measures must be considered to protect both yourself and your surroundings. Safety gear such as ear protection, a hard hat, and a face shield should be worn throughout the process. It is also important to assess the condition of the stump to determine if any additional precautions are necessary, such as cutting away protruding roots or removing rocks that may damage the grinder.
Furthermore, it is advisable to mark any underground utilities in the vicinity of the stump to avoid damaging them during the grinding process. Contacting your local utility companies to come and mark the locations of gas, water, and electrical lines can prevent costly accidents and ensure a smooth operation. Additionally, checking the weather forecast is crucial to avoid working in unfavorable conditions that may compromise the safety and effectiveness of the stump grinding process.
See Also: Stump Removal Service: Efficient and Reliable Solutions
The Step-by-Step Guide to Grinding a Tree Stump
Now that you have completed the necessary preparations, you are ready to begin grinding the tree stump. Follow these step-by-step instructions for a successful stump grinding process:
1. Positioning the Grinder
Start by positioning the stump grinder near the stump. Ensure that you have a clear path to move the grinder and that there are no obstacles or objects that may interfere with the grinding process. Take into account any underground utilities or structures that may be damaged by the grinder.
It’s crucial to assess the stability of the ground where the stump is located. Soft or uneven ground can impact the grinder’s performance and safety. Consider using stabilizing equipment if the ground conditions are less than ideal to ensure a smooth grinding process.
2. Grinding the Stump
With the grinder in position, carefully lower the grinding blades onto the stump. Engage the grinder slowly, moving it from side to side to grind through the wood. Make sure to maintain a steady pace, allowing the grinder to do the work while avoiding applying excessive force.
Keep an eye out for any rocks, debris, or foreign objects around the stump that could damage the grinder’s blades. Clearing the area of such obstacles will help prevent equipment damage and ensure a more efficient grinding process.
As you grind the stump, periodically check the depth and progress you are making. If necessary, adjust the grinder’s position to ensure that you reach all parts of the stump. Take breaks as needed to prevent the grinder from overheating.
3. Dealing with the Remaining Roots
After grinding the stump, you may be left with some remaining roots in the ground. Use a shovel or a chainsaw to remove any visible roots, cutting them as close to the ground as possible. Properly disposing of these roots will prevent regrowth and ensure a clean and level surface.
Inspect the surrounding area for any potential root systems that extend beyond the stump location. Cutting and removing these additional roots will help prevent future issues such as uneven ground settling or potential tripping hazards, ensuring a thorough and professional stump removal process.

Post-Grinding Procedures
Once you have successfully ground the tree stump, there are a few additional steps you should take to complete the process and restore your yard:
Tree stump grinding is a crucial step in reclaiming your outdoor space, but the work doesn’t end there. To ensure a seamless transition from stump to lawn, consider implementing the following post-grinding procedures to elevate the overall look and health of your yard.
1. Cleaning Up the Area
Remove any debris, wood chips, or grindings left behind after the grinding process. This will not only improve the appearance of your yard but also minimize the risk of tripping hazards or damage to your lawn equipment. Rake the area thoroughly, disposing of the debris appropriately.
By meticulously cleaning up the remnants of the stump grinding process, you create a clean canvas for future landscaping projects. This step also prevents unwanted pests from making a home in the leftover wood chips, promoting a healthier outdoor environment for your family and pets.
2. Disposing of the Grindings
Depending on the size of the tree stump and the amount of grindings generated, you may need to find a suitable method of disposal. Grindings can be used as mulch for other plants or added to your compost pile, as long as they do not contain any diseased wood. Alternatively, you can contact local waste management facilities to inquire about proper disposal methods.
Repurposing the grindings as mulch not only reduces waste but also enriches the soil with organic matter, promoting plant growth and soil health. By exploring eco-friendly disposal options, you contribute to sustainability efforts and minimize the environmental impact of your landscaping projects.

Maintaining Your Stump Grinder
To ensure the longevity and optimal performance of your stump grinder, regular cleaning and inspection are crucial. After each use, clean the grinder thoroughly, removing any wood chips or debris that may have accumulated. Inspect the grinder for any signs of wear or damage, and replace any worn-out parts to maintain efficient operation.
It’s also important to regularly check the sharpness of the grinder’s teeth. Dull teeth can make the grinding process more difficult and can put unnecessary strain on the machine. You can sharpen the teeth yourself using a specialized grinder or take them to a professional for maintenance. Keeping the teeth sharp will ensure smooth and efficient stump removal.
By following this step-by-step guide, you can successfully grind tree stumps and reclaim your yard. Remember to prioritize safety, invest in quality tools, and properly maintain your stump grinder for long-lasting results. Say goodbye to unsightly stumps and hello to a beautiful and functional outdoor space!
Additionally, consider storing your stump grinder in a dry and covered area when not in use. Exposure to the elements can lead to rust and corrosion, affecting the performance and lifespan of the machine. A protective cover or storage shed can help prolong the life of your grinder and keep it in top condition for future use. Taking these extra steps in maintenance and storage will ensure that your stump grinder remains a reliable tool for years to come.


